Blog
Shooting Lightprobes with Open Source Software
Perhaps not uniquely drinking and buying things off amazon is part of my pandemic coping strategy. This time around it was an $80, 4" diameter ball bearing. This post is my atonement. I hope it will serve as a reference point for anyone wanting to make their own light probes, but not so much that they're willing to pay for software.
Quick Recipe
Ingredients
- giant ball bearing
- camera with exposure control
- tripod
- LuminanceHDR
- Krita
- Hugin
N.B. You don't actually need a giant ball bearing, any mirrored ball will do, even a hemisphere will work okay if you move it between points of view. The first light probe I ever shot was done with the back of a ladle.
Procedure
- shoot enough exposure-bracketed frames of the mirrored ball to capture the full dynamic range of your scene
- move your camera 90 degrees around the mirrored ball in any plane and repeat step 1
- stack up the two sets of exposures into a pair of HDRIs using LuminanceHDR
- square-crop the HDRIs using Krita right up to the very edge of the ball
- transform your the cropped images from mirrored-ball to polar using Luminance
- align the two transformed images using Hugin
- mask the poles and camera out from one image and replace them with the background from the other with Krita
A Brief Introduction to Light Probes
"A light probe image is an omnidirectional, high dynamic range image that records the incident illumination conditions at a particular point in space."
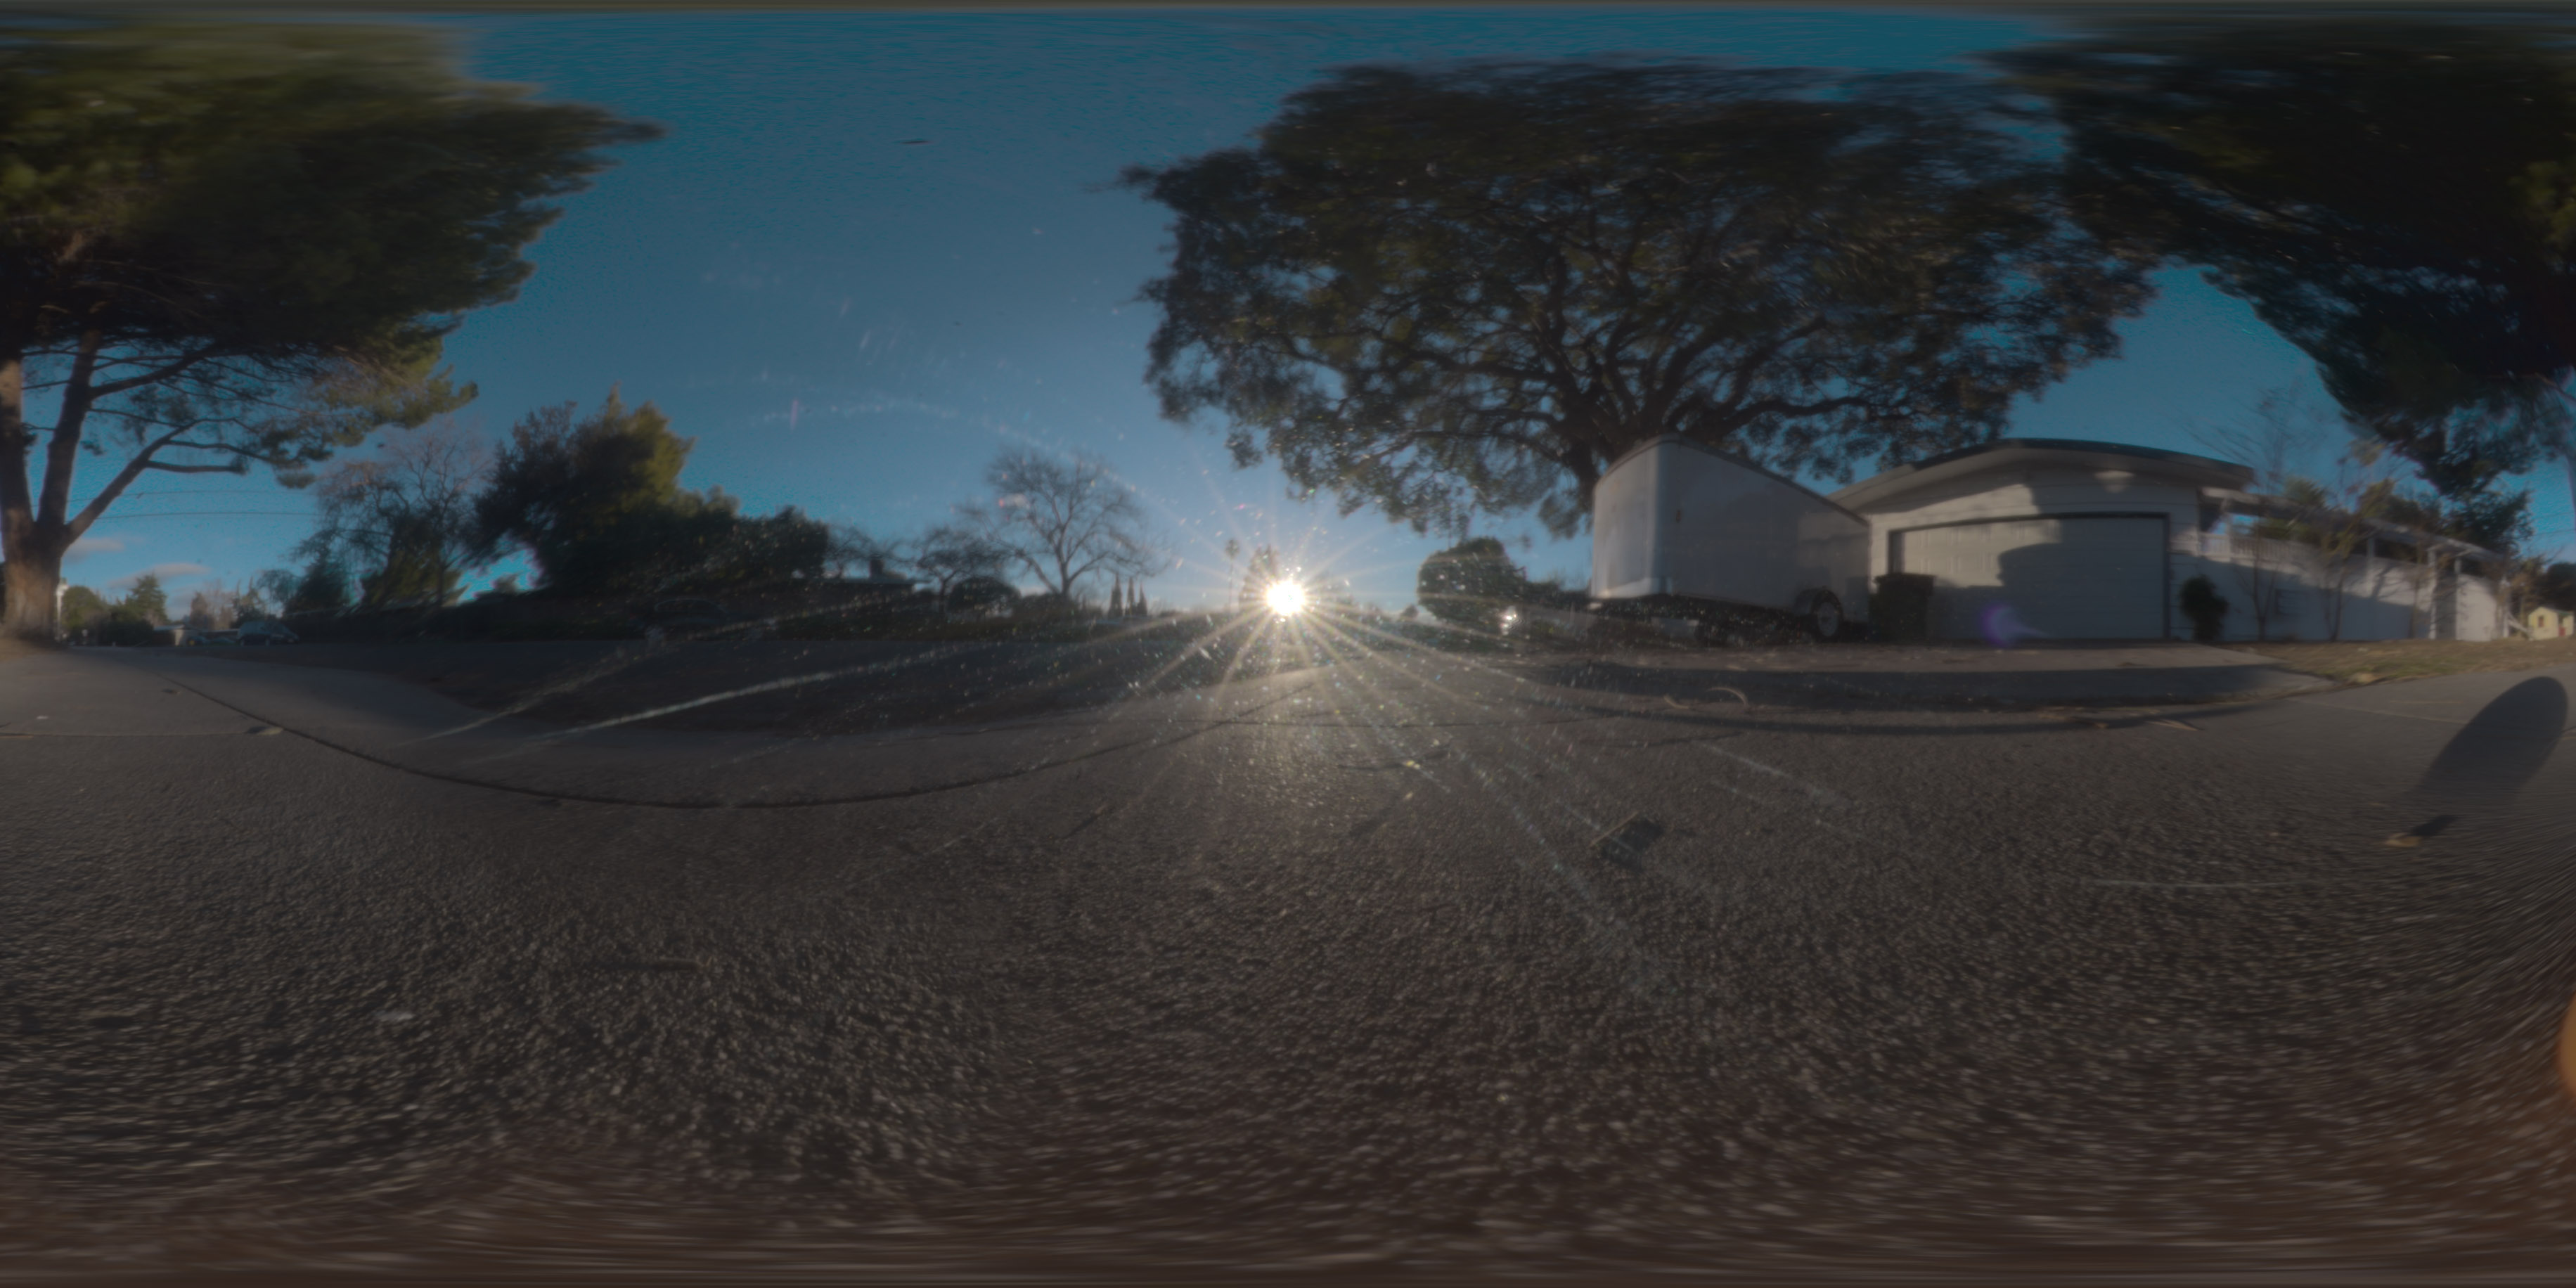
Light probes are a way to capture exactly how a point is lit. That sort of data comes in very handy when you want to light a virtual scene with real lights, or realistically insert a virtual object into a real scene. The finished product looks something like this.
I won't get into explaining the intricacies of what separates HDR (high dynamic range) images from your run of the mill JPG (low dynamic range), but the general gist is this: If you take a picture of a sheet of paper and the sun, they might both show up as white in a JPG. An HDR that captures the full dynamic range of the image will tell you that yes, they're both white, but also that the sun is 10000x brighter.
The most common way to make an HDR image is to take several pictures of your scene across a range of exposure levels such that no highlights are clipped in the darkest image, and no shadows are clipped in the brightest image. Then you throw some math at it and the computer figures out actual relative brightness of every point in your scene.
To capture a light probe, you combine the above technique with some form of generating a 360° panorama. Generally you either stitch together a bunch of fisheye shots from a single point, which is requires more equipment and time but produces very good results. Or you go the route I'm taking and use two shots of a mirrored ball which is quicker, cheaper and can't quite achieve the quality of the previous technique. Thankfully drunk-me only bought $80 worth of mirrored balls, and not $800 worth of fisheye lenses and pano-mounts, so I'm only covering the second technique.
N.B. Some people incorrectly use the term HDRI to refer to tonemapped images. Also, while I'm at it; if I can tell that your photo is tonemapped you've gone two far and you're making disgusting kitch, please stop on both count
Capturing
"Garbage in, garbage out."
- ancient proverb
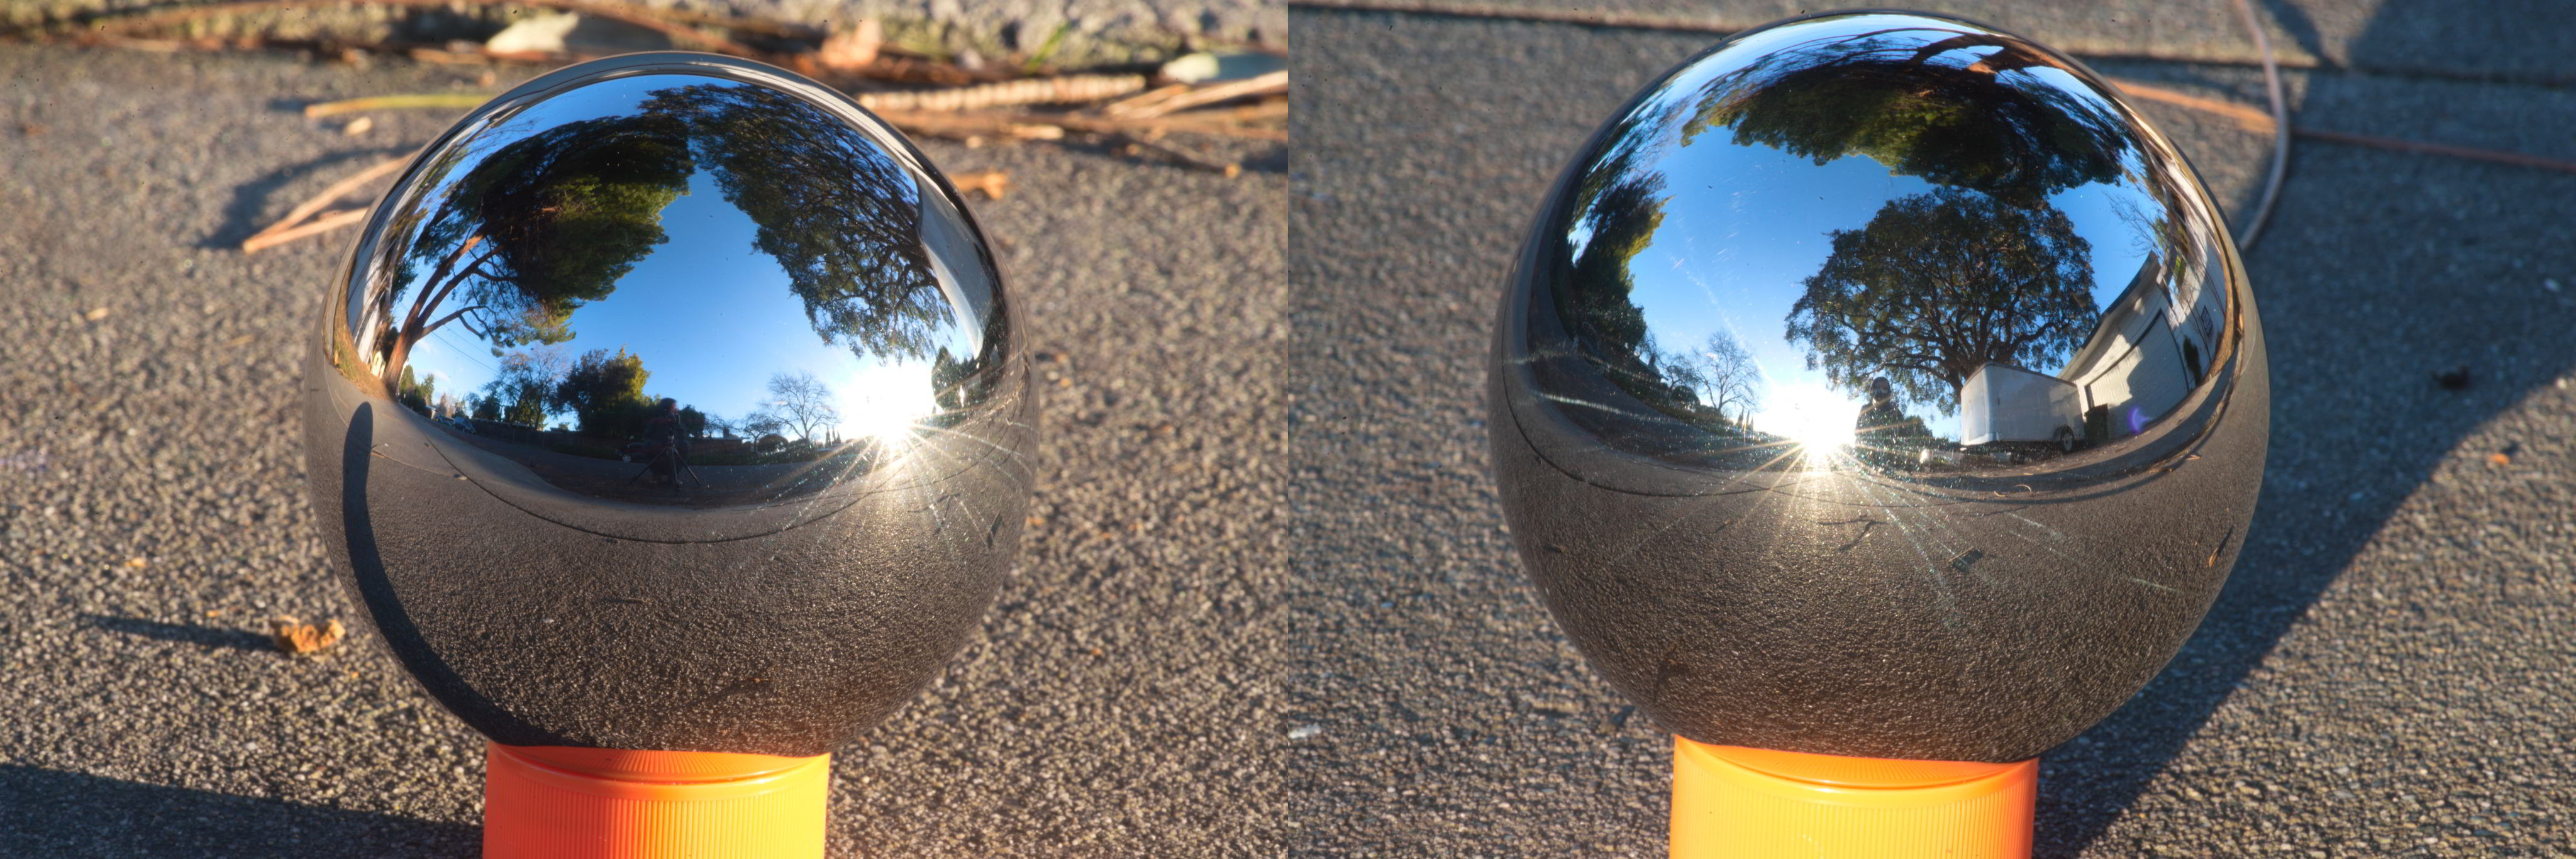
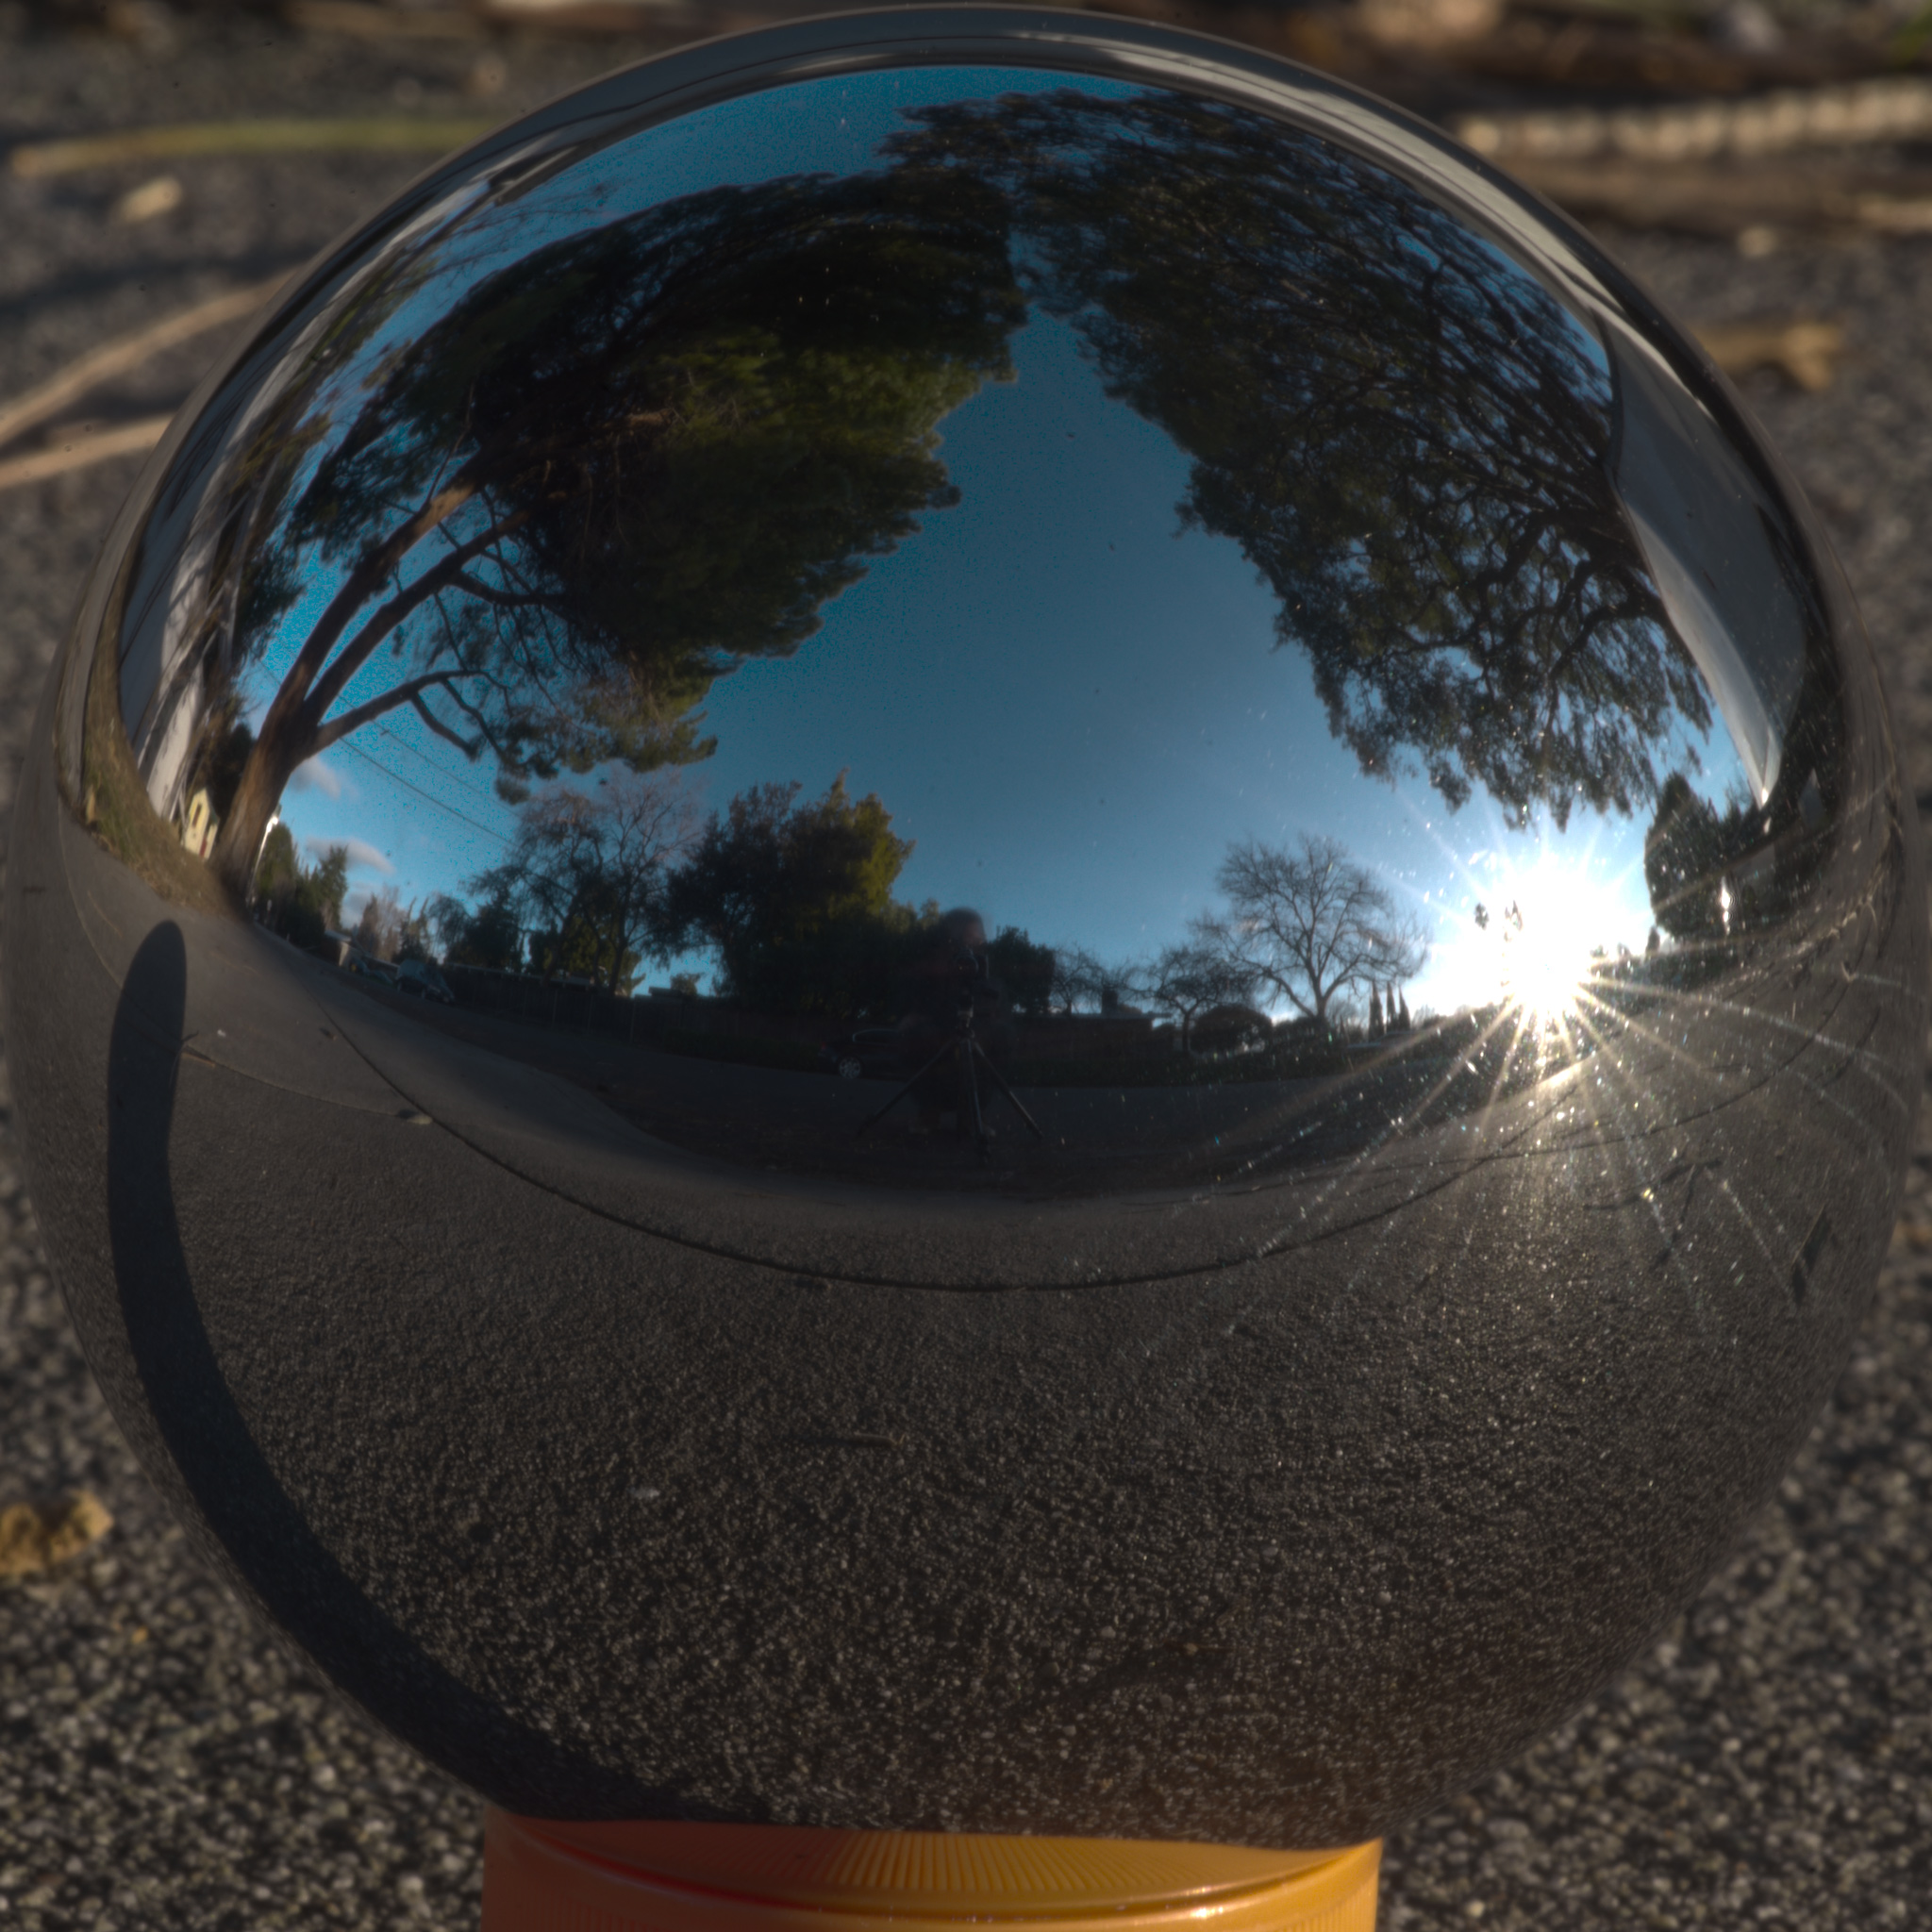
As with most computer assisted processes starting off with good inputs is a good way to stay sane. When shooting the raw photos your mirrored ball should take up as much of your frame as possible without being cut off. At the same time it's best to get as far away as possible so that you and the camera take up a smaller portion of the reflection, and your camera's eye-rays are as parallel as possible. In practice this means shooting with the longest lens or the highest optical zoom you can muster. I'm using a busted-ass D600 with a 70-300, but a point and shoot with a decent zoom will do nearly as well. You should end up with two sets of shots that looks like this.

With the second set being shot from a point roughly 90° away from the first set.
Stacking and Transforming
Get the the two sets of photos you just shot into LuminanceHDR and stack them up into HDRIs. You're fine just using the default settings, just click through the New HDR process and then save the result without touching anything else. If Luminance lets you save an .hdr or an .exr you're doing it right. You want linear HDR images.
Once you've got your two views stacked up into HDRIs open them up in Krita and crop them to be perfectly square, centered on your mirrored ball with the edges of the square just kissing the edges of the sphere.
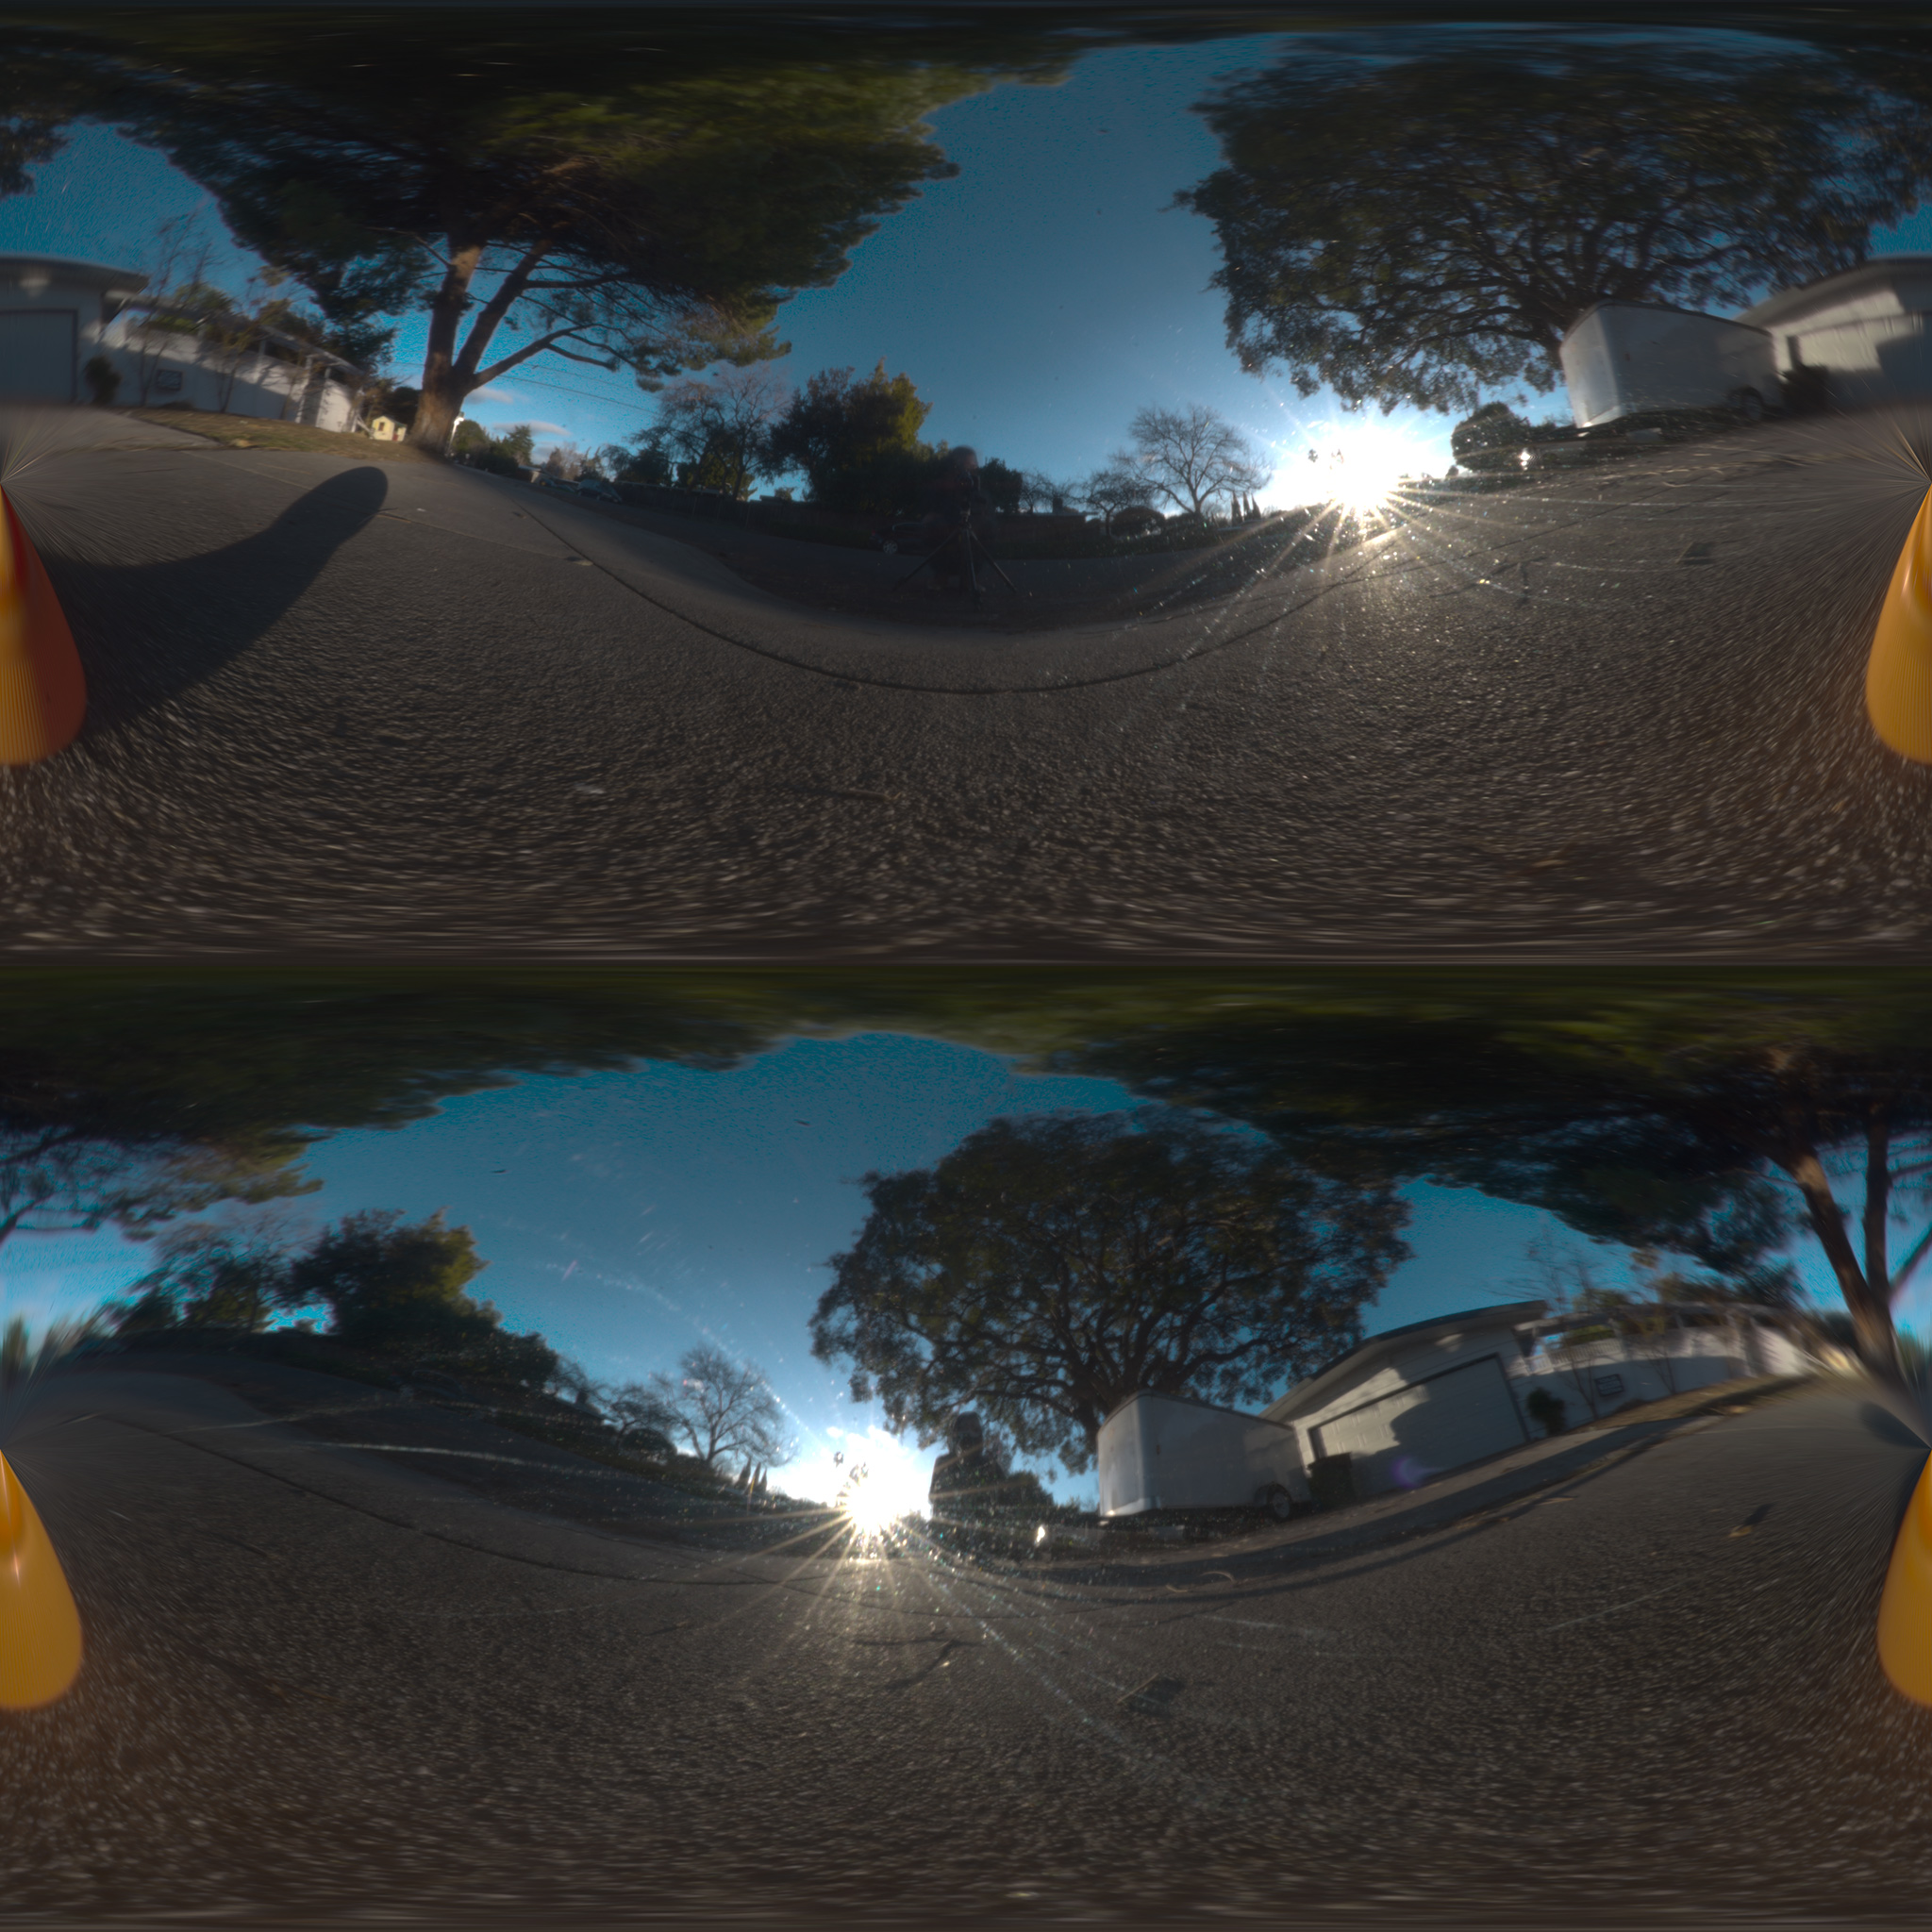
It's important to get this pixel perfect and worth spending a little time zooming in and out to get it as good as you can. Next up save your square crops out as .exr/.hdr and re-open them in LuminanceHDR. Navigate to Edit -> Projective Transformations (Ctrl+J) and transform your Mirror Ball photos into Polar coordinates. You don't need to mess with anything else here either, optionally turn oversampling up to 2x because something something Nyquist. I usually don't bother. Your transformed images should look something like this.
Save 'em out (again making sure they're still .hdr or .exr) and open up Hugin.
Aligning
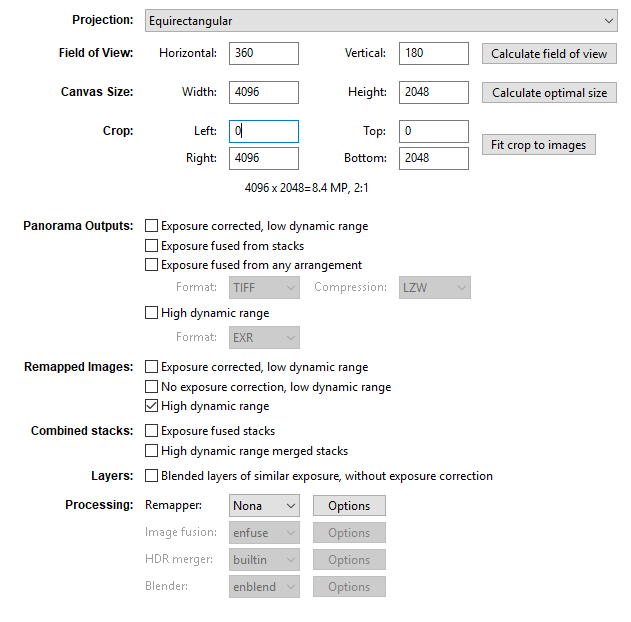
Import your unwrapped HDRIs into Hugin using lens type Equirectangular with an HFOV set to 360°. Hugin should be able to automatically detect points and align your photos. The default Hugin step-by-step wizard should pretty much handle things. Once you've got a decent alignment I like to do a final tweak pass using the Hugin preview window. I also like to align the primary light source with the center of the image horizontally, that way I have a consistent way to set scene rotation later. Once you're happy with the alignement of your images save them out from Hugin separately without blending. The important checkbox here is Remapped Images: High dynamic range, adjust image dimensions to taste.
Blending
Once you've got your two views remapped to the same perspective all that's left is to blend yourself and the poles out from the image. Fortunately this is very easy to do in Krita as it natively supports 32-bit HDR images. Simply bring both of your images into Krita and place one as a layer on top of the other. Then simply mask out or erase the parts you don't want from one letting the other one show through from behind. Because we aligned the images in Hugin this should just work like magic.
Grats, you're done, and so am I. Guess it's time for a gin and tonic.